How to Read a Usb Keyboard With Arduino
Shocutz
A shortcut keyboard for designers
Designers use many shortcuts to maximize productivity, whether it's coding or using design tools such as Sketch or Illustrator. It's impossible to call up them all. Interestingly, there are shortcut keyboards created specifically for gaming or media production, but none for designers.
Information technology seems as there is a niche for a custom micro-keyboard built to support the piece of work of designers. Adobe Illustrator for case has over 100 shortcuts. What if at that place was a way to streamline access to these shortcuts? Would a device with quick shortcut keys be desirable and usable past designers? If then, what shape and features might the device contain?
This is an ongoing collaborative project. I work along with my colleague Brent Gruenke with the goal of open-sourcing the keyboard designs and accompanying lawmaking. And then far, we finished the proof-of-concept stage with promising results. We are now perfecting the product and creating an interface to manage the keyboard settings. Read more almost our progress beneath.
Process

We pursued a straightforward UCD process guided past the following questions.
- Does a shortcut keyboard increase designers' efficiency in using Adobe Illustrator?
- Would designers want to use the shortcut keyboard in their day-to-day work tasks?
Technology choices
Nosotros researched ways to make an Arduino piece of work every bit a USB keyboard. We discovered that the Micro Pro and Leonardo are all-time suited for programming a Homo Interface Device (HID) because of the Keyboard.h library.
Unfortunately, we did not take access to either of those microcontrollers. Being the cheap students that we are, and likewise impatient to wait for shipping, we decided to conduct on and brand it piece of work with an Arduino Uno.
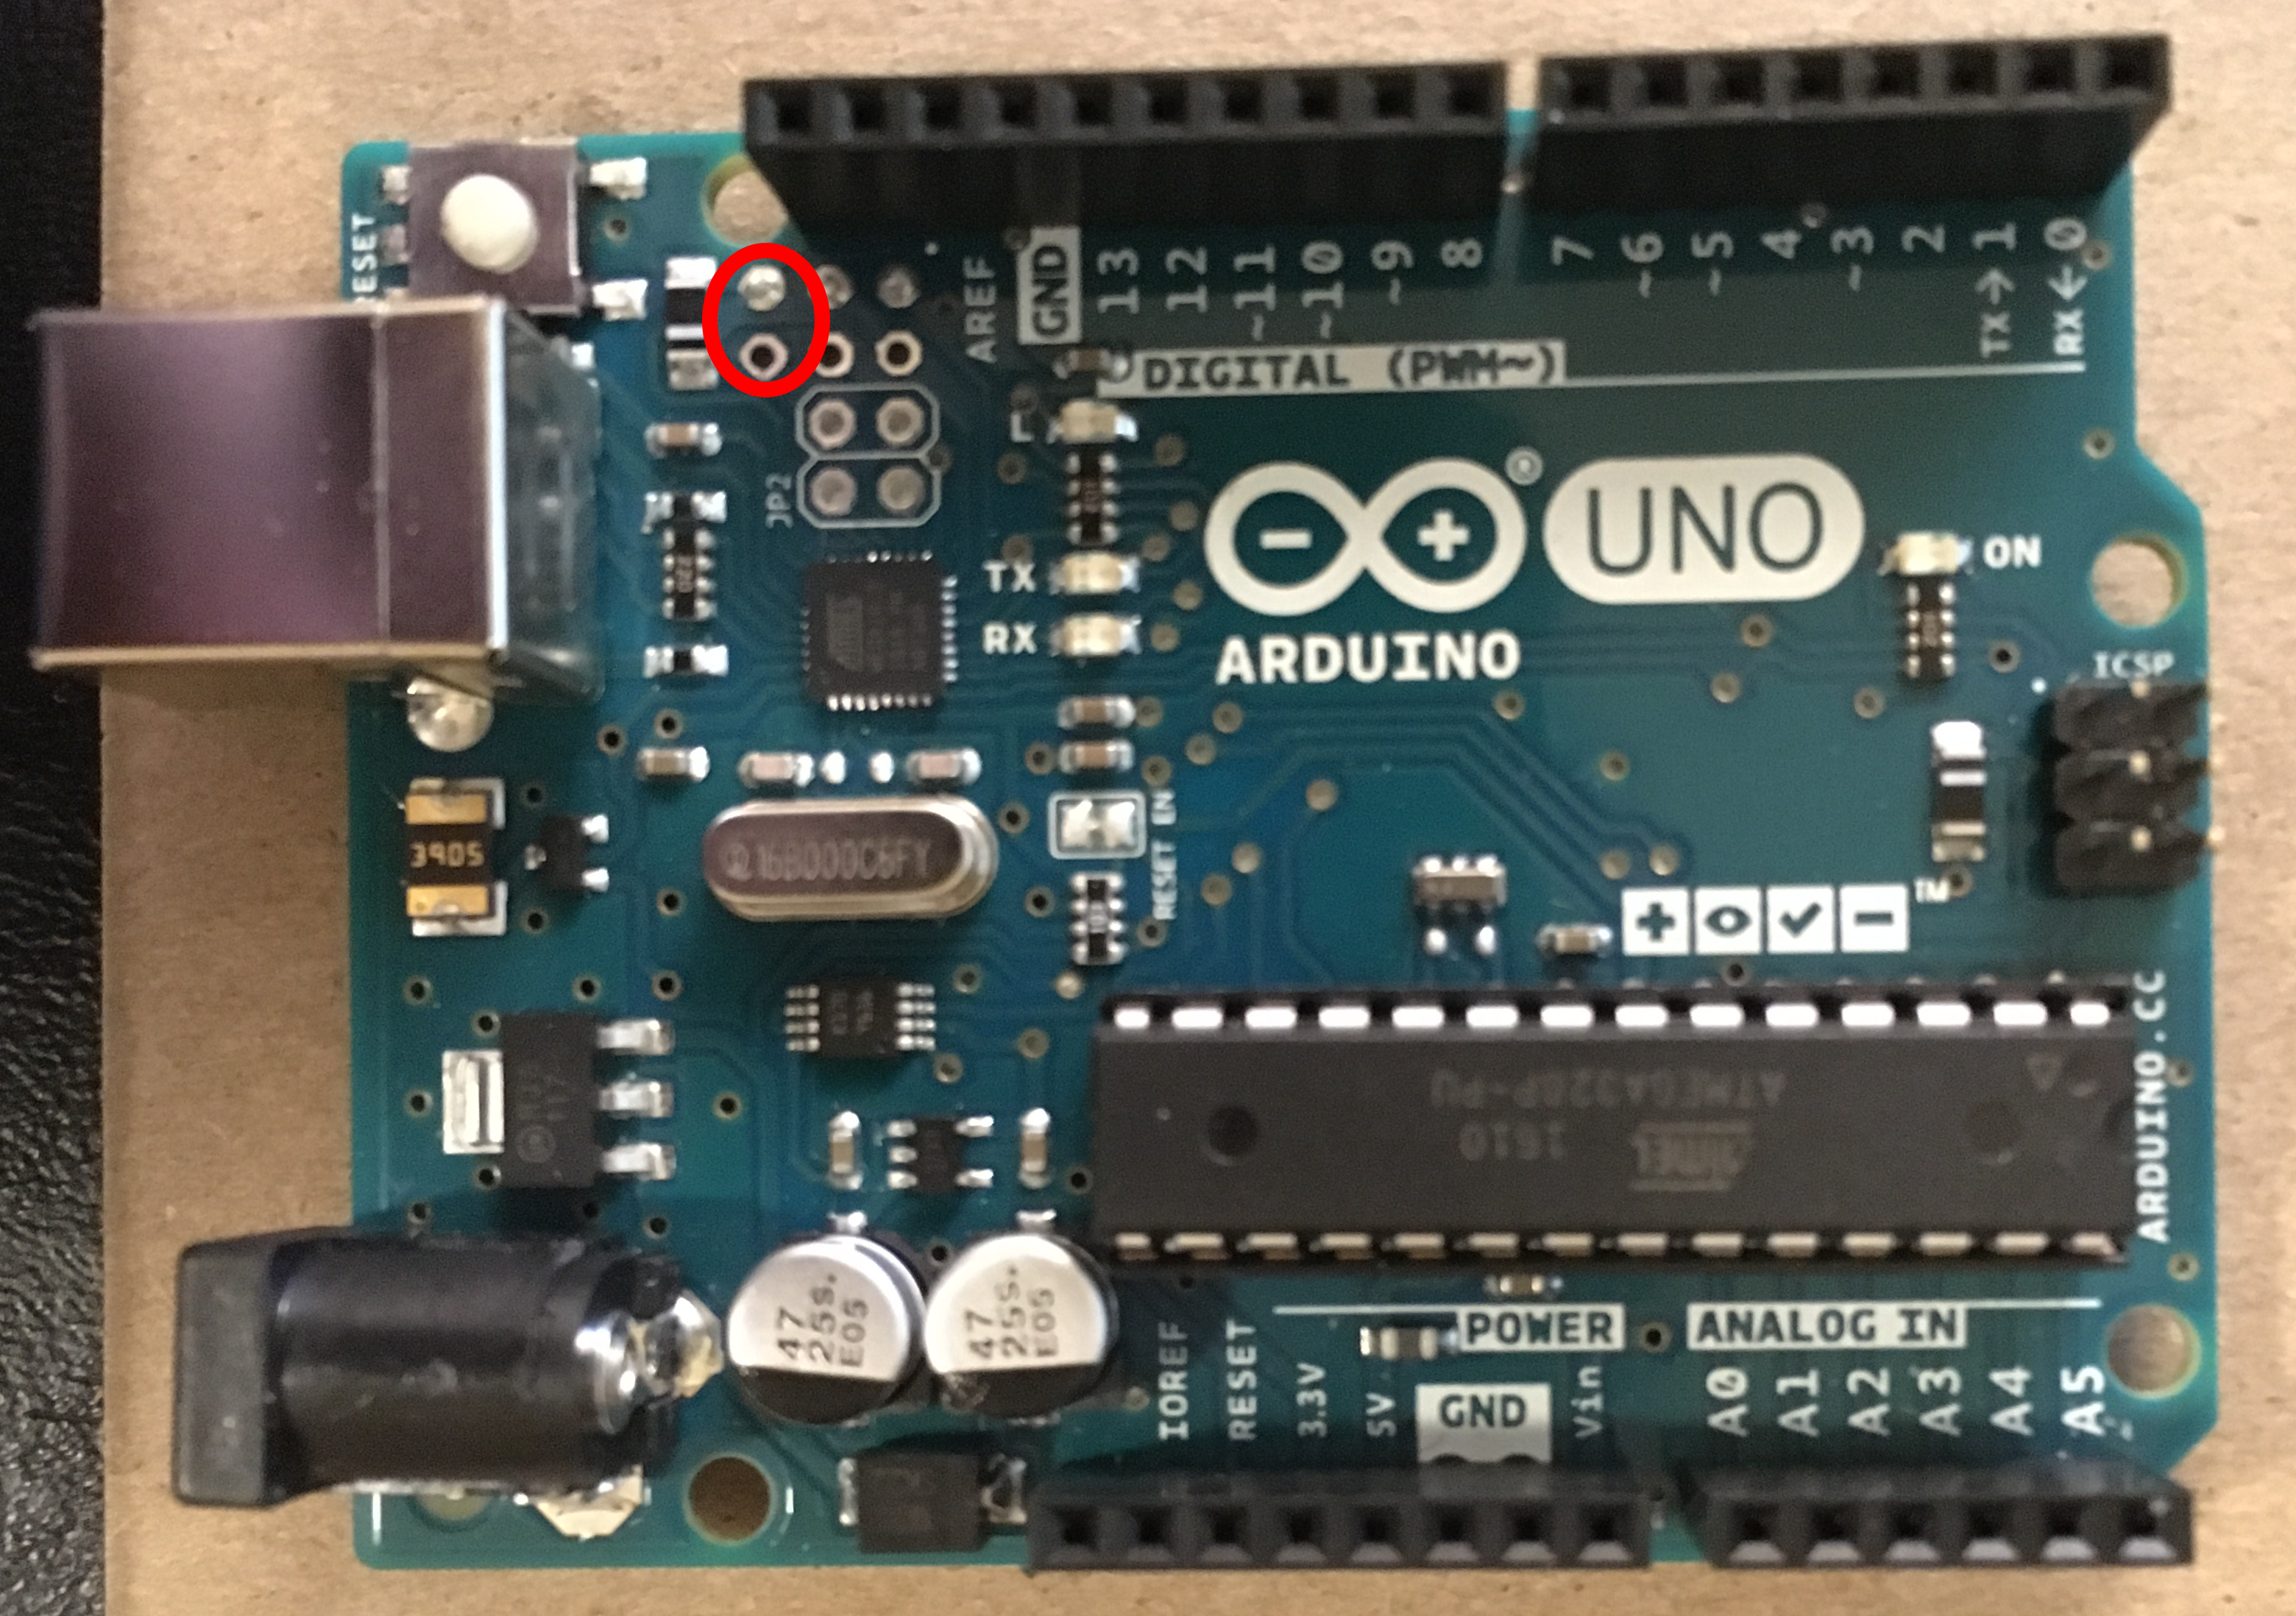
For the Arduino Uno to work as a USB device, its USB protocol has to be updated with something called Device Firmware Update (DFU). This process flashes new firmware to the unit. We used this tutorial and this GitHub repository as a reference.
Footstep-by-step for programming the Arduino
-
Upload sketch in Arduino
-
While plugged in, short the Arduino
-
Use Atmel Flip (or DFU concluding commands on Mac or Linux) to upload Arduino-keyboard-0.3.hex
-
Power cycle the Arduino
-
Exam buttons and uploaded sketch
-
Short the Arduino again
-
Upload Arduino-usbserial-uno.hex with Flip
-
Power cycle the Arduino
-
See that the com port detected the Arduino
-
Rinse and repeat until the desired shortcuts are uploaded
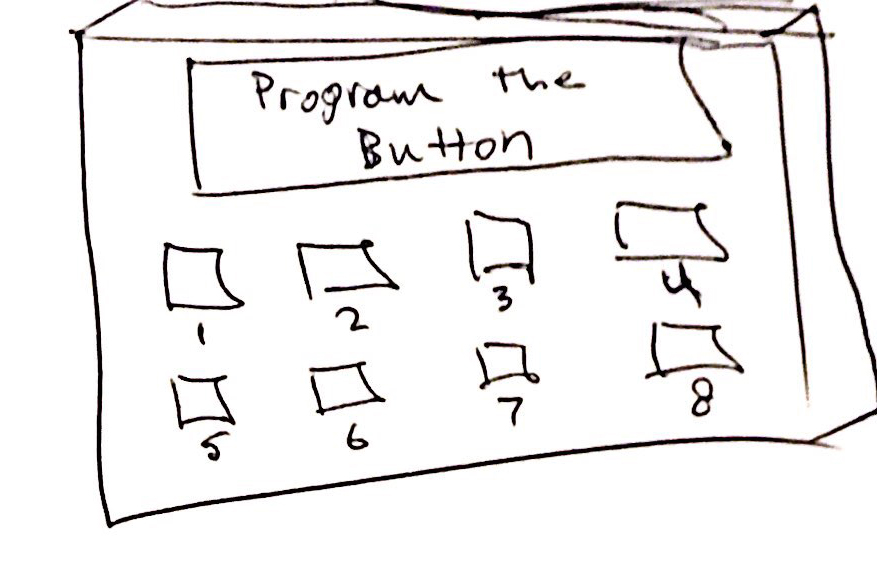
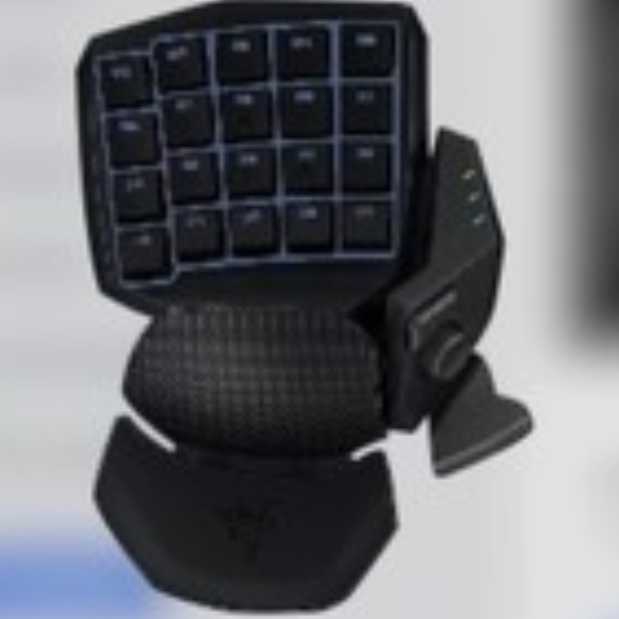
Nosotros also had to decide on which buttons to have the keyboard. Since nosotros were testing usability, nosotros decided to accept a combination of commonly used keys and some more than specialized keys. After surveying many colleagues who use Illustrator oftentimes, we settled on:
It took a while to figure out which hexadecimal keys were for which keyboard keys. We found some fantabulous documentation on it.
 Click on the prototype above to see the full lawmaking
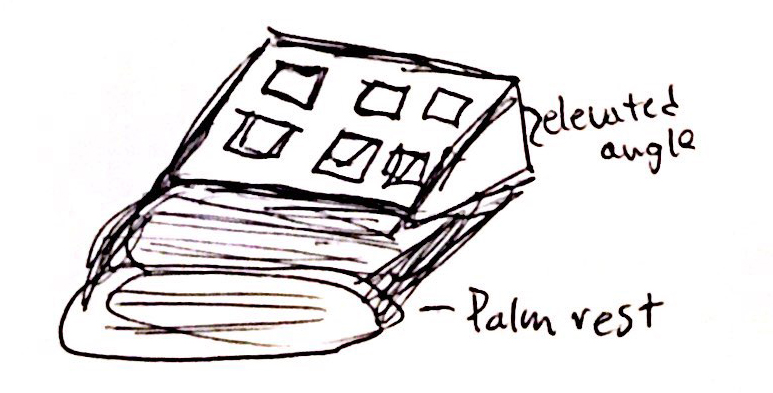

With the programming mostly finished, we started envisioning the enclosure and keyboard.
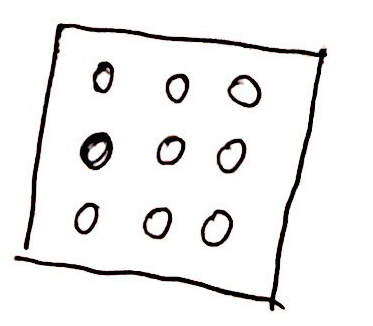
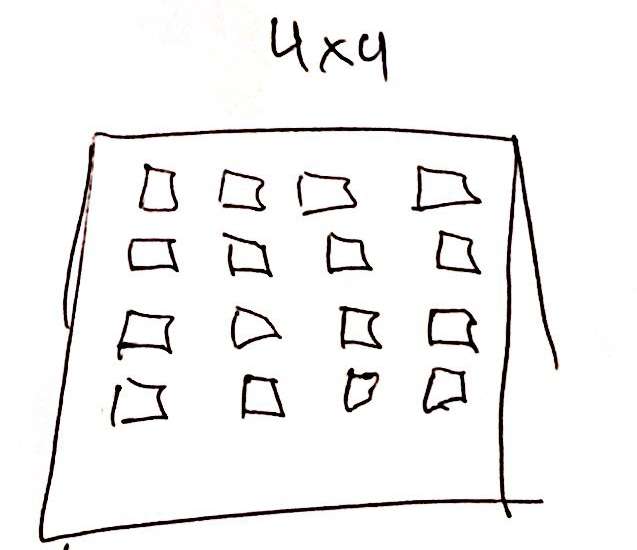
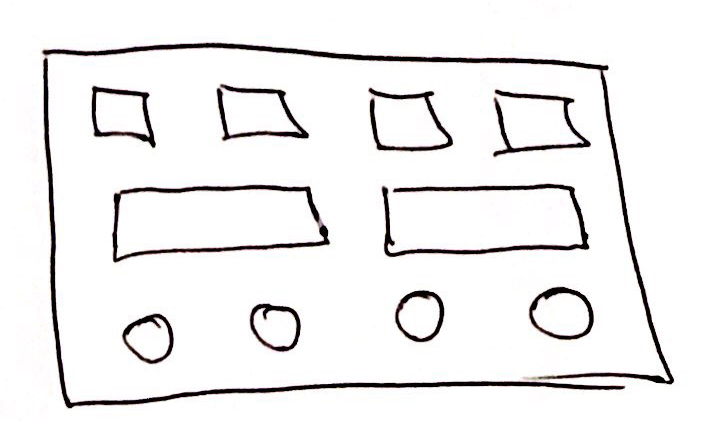
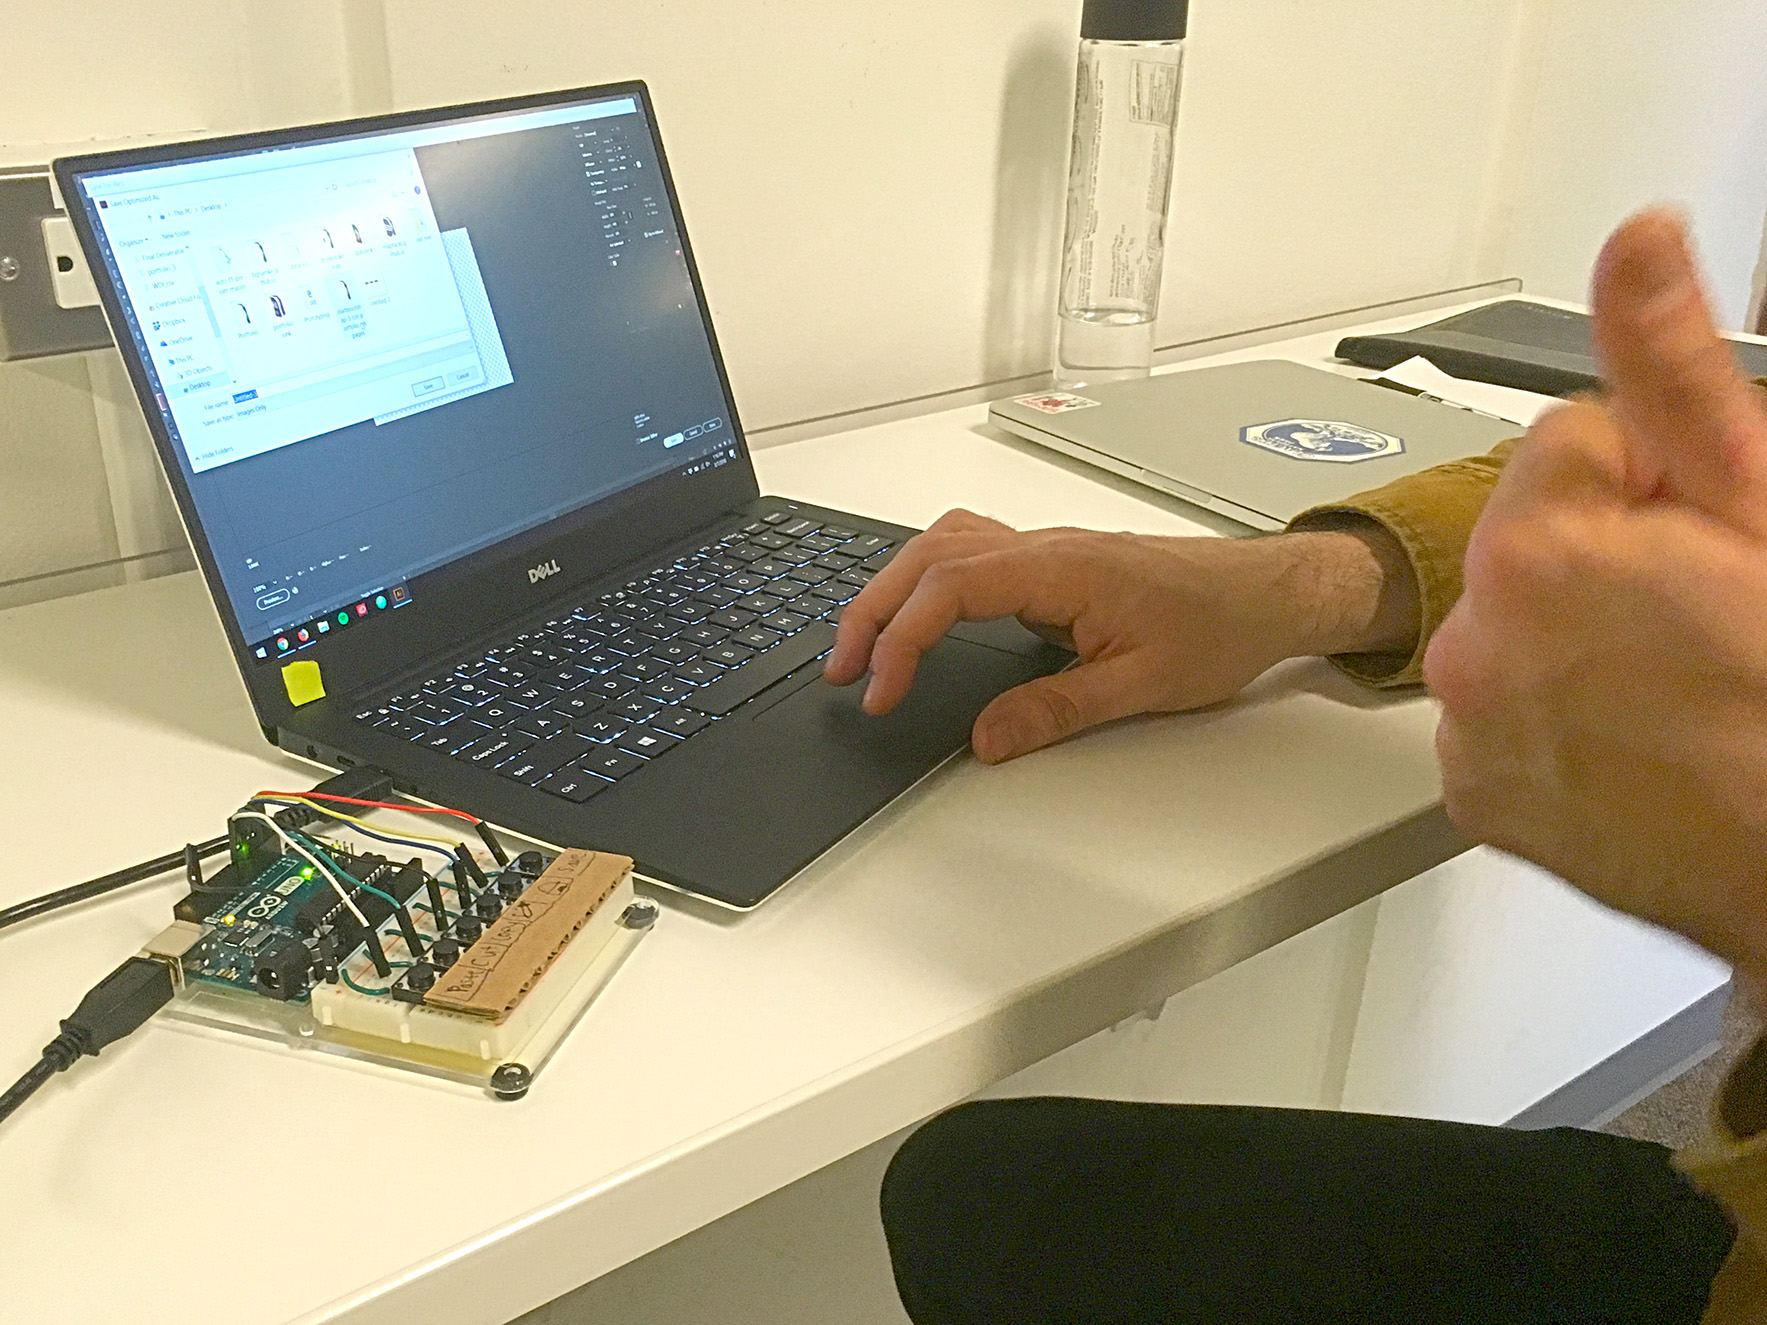
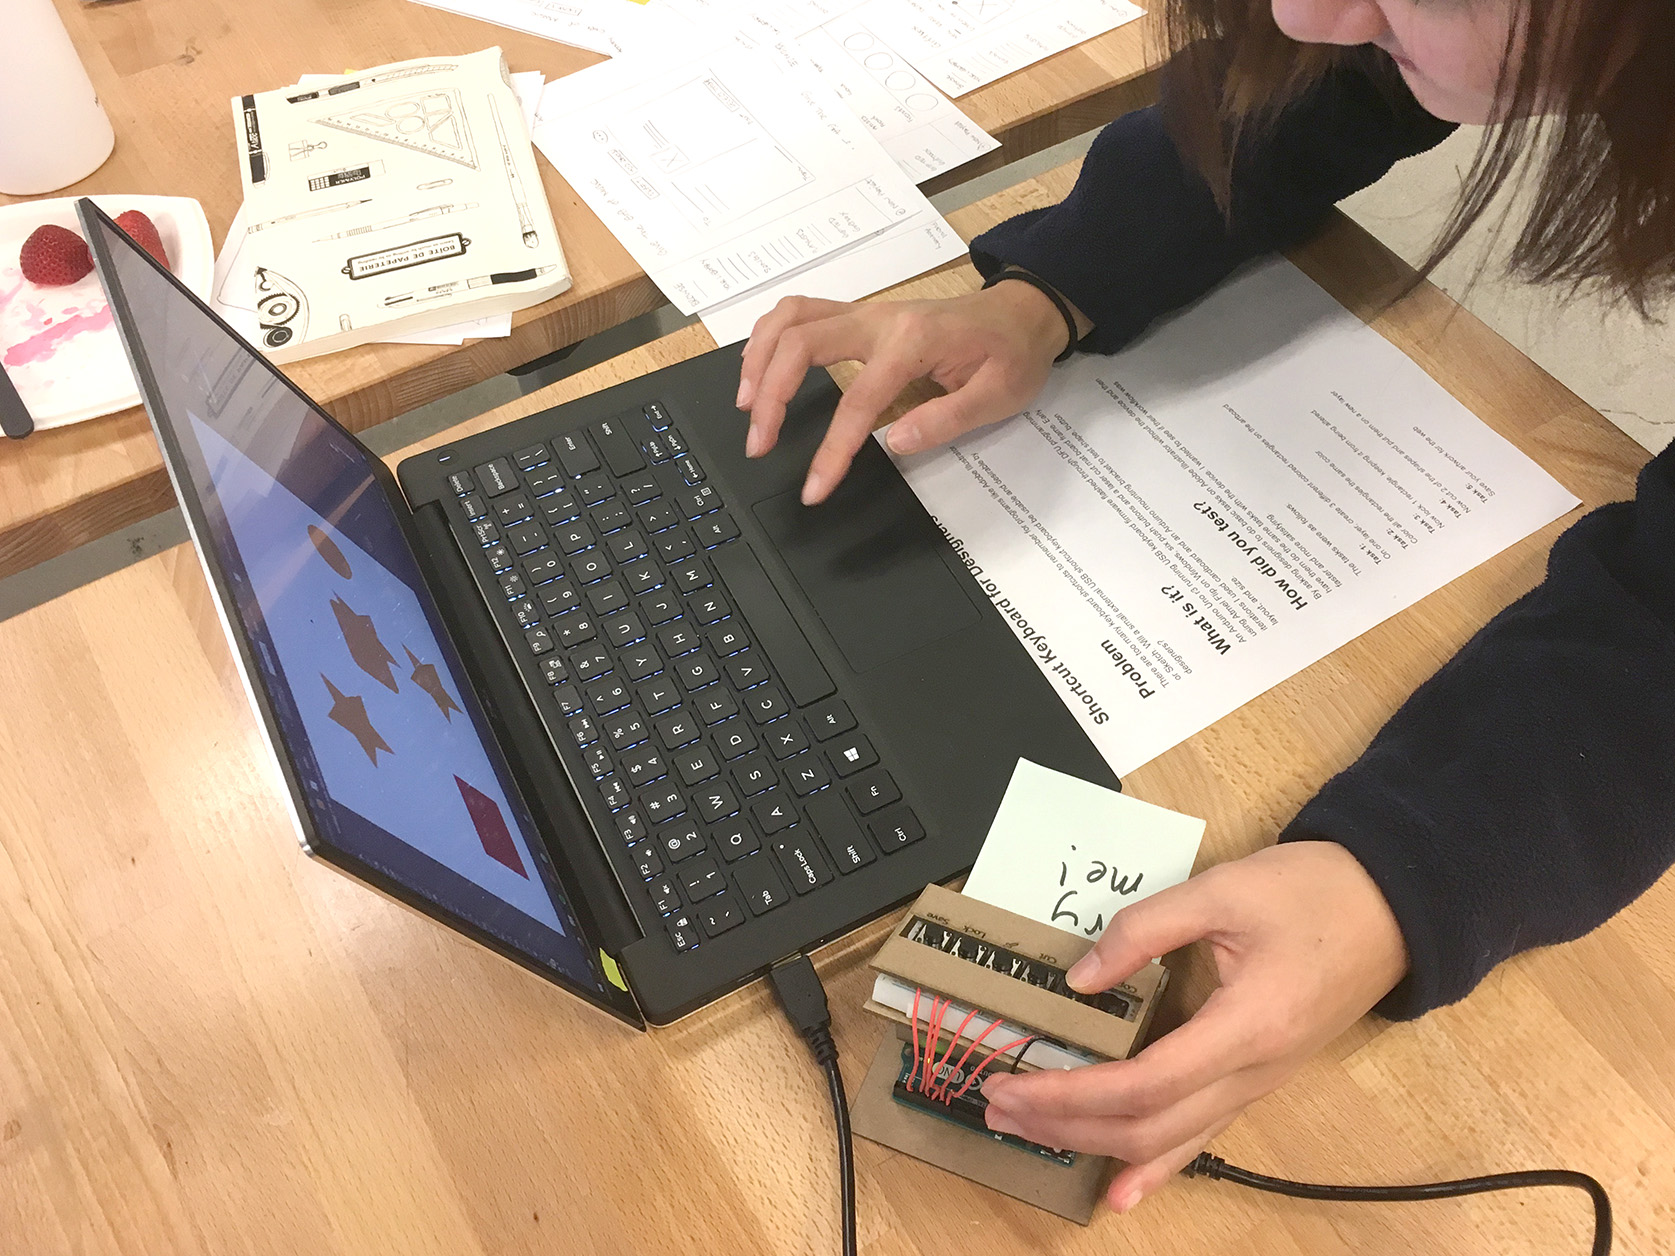
Below are some iterations of the paradigm. We started with using cardboard to model possible layouts. I likewise used an Arduino plastic mounting bracket to organize the breadboard and Arduino. I finally laser cut labels and a case out of mat-board to hide the Uno as seen in my Evaluation of the prototype.

Evaluation
We recruited 10 design students and asked them to complete five tasks without the shortcut keyboard that we designed. Then, they performed the same five tasks with the shortcut keyboard.
Task 1 On one layer, create 3 different colored rectangles on the artboard
Chore ii Color all the rectangles the same color
Task 3 Lock ane rectangle, keeping it from beingness altered.
Task 4 Cut 2 of the shapes and paste them on a new layer
Task 5 Save your artwork for the web
We also asked participants:
- How satisfied were you in completing those tasks using the device?
- Was there anything that could be changed to improve the device?
- Would you use this device in the futurity? How?
Participants reacted positively to the functionality of the prototype. The full general sentiment was that the keyboard would help them with using complicated software more quickly.
Nevertheless, we could do better with the enclosure. The mat-lath had more than give than people expected, and some people did not push the buttons downwardly all the manner. Therefore, nosotros volition experiment with different button types.Additionally, the angle of the keyboard did not piece of work very well, particularly when participants prefered to work continuing upwardly. Nosotros plan to employ a much shallower angle, making the keyboard more ergonomic by having a slightly angled interface.
Shocutz v2
Afterwards seeing the excitement of our participants with the prototype, we decided to take the projection further. Our goal is to make it available to designers every bit an open up-source the project. We are now busy designing a new keyboard and enclosure artifact, besides as a desktop awarding to control keyboard settings.
Nosotros decided to redesign the entire device. We are currently sketching and rendering alternative designs, based on our user testing, likewise as referencing existing products.


A mood board with the coolest references that we gathered for the design of an enclosure.
Desktop app
We are now in the process of developing a desktop interface to control the shortcuts keyboard. Early on mockups below:

Adjacent steps
As mentioned to a higher place, nosotros are currently working on designs for the enclosure and desktop awarding. The next step will be a round of user testing with many more participants than we did previously, and market research.
A commercialization alternative would be to fabricate parts of the enclosure and components, and ship information technology to people equally a low-cost DIY kits.
pringlestraindich.blogspot.com
Source: https://lucascolusso.com/shocutz
0 Response to "How to Read a Usb Keyboard With Arduino"
Post a Comment